
Want to know about Header and Footer in Microsoft 365 Word and MS Word document? Want to insert a header or footer in Microsoft 365 Word and MS word older version? This article will provide you all details about them.
In this tutorial, you can view all details about the header and footer. And you can know how to add header and footer in Microsoft 365 Word and MS Word document. And remove the header from the first page. And remove the header or footer from the entire document.
In Microsoft 365 Word:
Video Tutorial:
For our reader’s convenience, we provided this article in the form of video tutorial. If you are interested to read, you can skip the video and start reading.
1. How to Insert header and footer in Microsoft 365 Word?
Let us see how to insert a header and footer in Office 365 Word in this section.
Total Time: 3 minutes
Step 1: Create or Open Word document
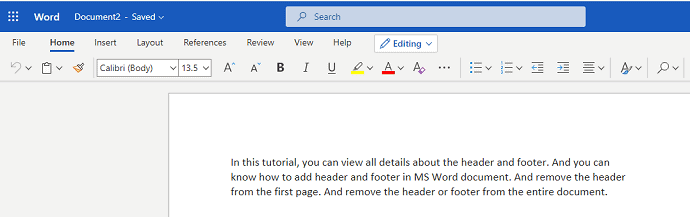
The first thing you need to do is, create or open the word document in Microsoft 365 in which you want to add header and footer.
Step 2: Click on Insert
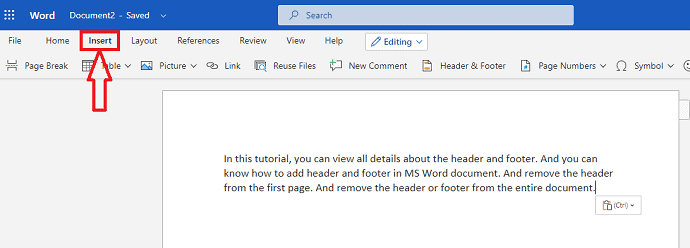
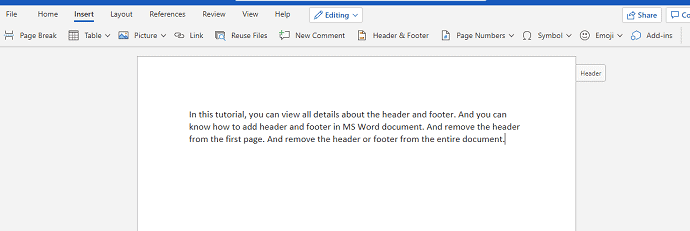
Now in the menu bar of Word you can see different options for making your document stylish and professional. Click on the Insert menu from that menu bar list.
Step 3: Click Header & Footer option
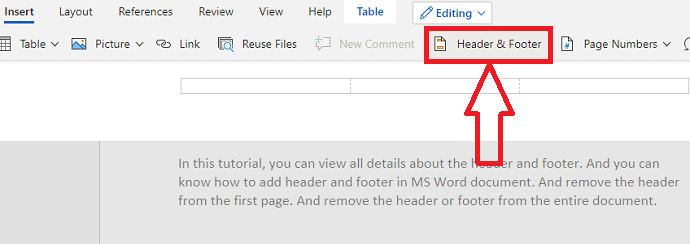
When you click on the Insert option, you can see various options like table, pictures, etc to insert into your Word document. From that list of inserting options click on the Header & Footer as shown in the above image.
Step 4: Type the Header content
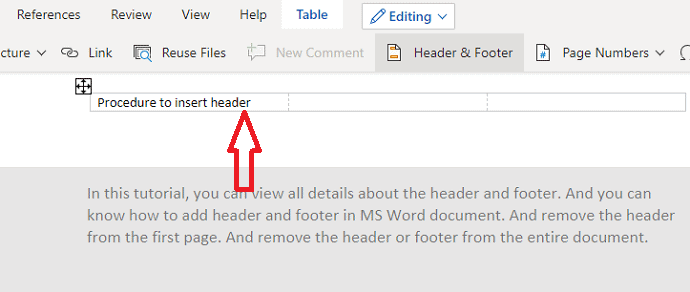
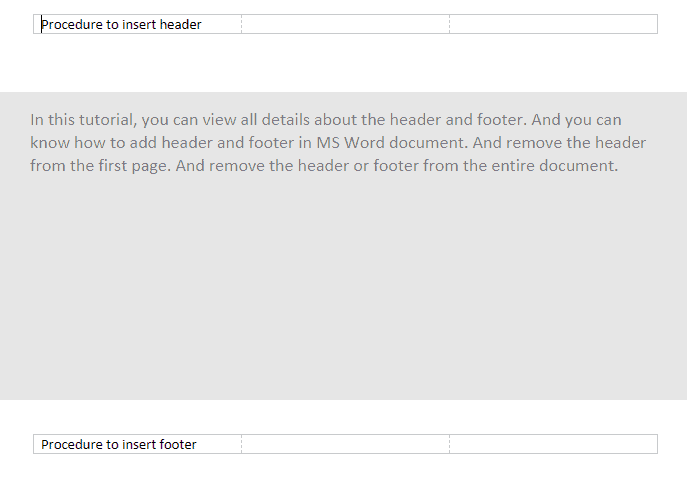
Once you click on the Header & Footer option, the header and footer will be inserted into your Word document. At the top of the document you can see an empty row for entering the content which you want to present as a header for that document. Type the suitable content as heading for your document as you wish.
Step 5: Type Footer content
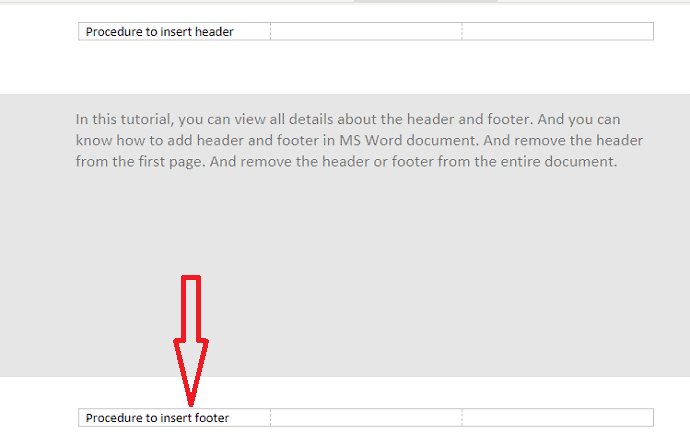
Now on the bottom side, you can see an empty row for entering Footer content. Type the content which you want to insert as Footer.
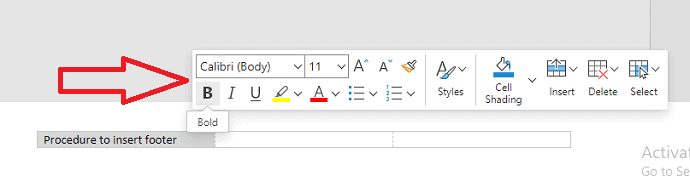
Step 6: Use design formats for header and footer
You can also use designs for header and footer. To make your header and footer more stylish, select the content in the header or footer then a tool menu will appear as shown in the above image. You can use Bold, Italic, Underline and different color, etc from that toolbox.
This is the procedure for inserting Header and Footer in Office 365 Word document.
2. How to edit Header and Footer in Microsoft 365 Word?
In the previous section, we have seen the procedure for inserting the header and footer into the Word document. Now in this section let us see how to edit the header and footer in the older version.
Step 1: Open the word document
The first thing you need to do is, open the word document in which you want to change the header and (or) footer.
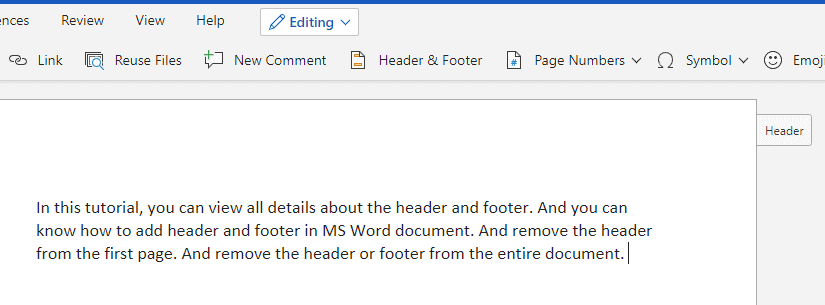
Step 2: Click on Header or Footer
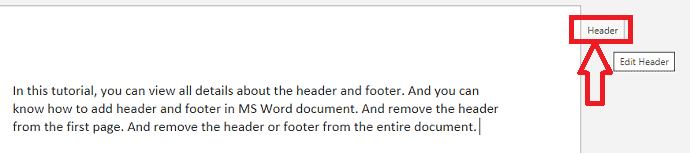
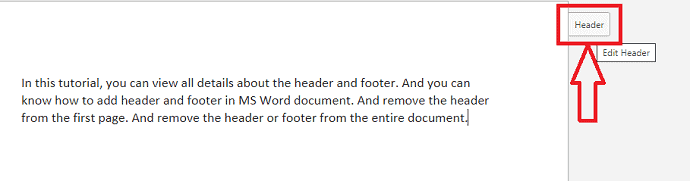
Once you open the document you can see a Header option at the top right side of your document and footer option at the bottom right side. Click on Header at the top or Footer option at the bottom. Then you can see an unlocked header or footer which supports editing as shown in the below image.
Now in that editing screen you can edit the Header and Footer.
3. How to remove Header and Footer in Microsoft 365?
Up to now, we have seen the procedure to insert and edit the header and footer. There are some cases where you don’t need header and footer to your document. Then you need to know how to remove those from word document. Follow the below steps for removing header and footer.
Step 1: Open the document
Firstly, select and open the document in which you want to remove the header and footer.
Step 2: Click on Header or Footer option at right side of document
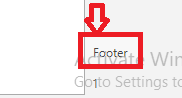
Once you open the document, you can see your document which contains header and footer. There you can see header option at the top and the footer option at the bottom of your document. Click on anyone either the Header option or Footer option. Then the editing screen will appear for editing those two where you will find options to remove also.
Step 3: Click Options
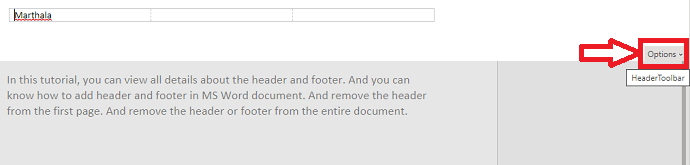
In that editing screen itself, you can remove the header and footer. You can see an option namely Options at the right corner of the screen. Click on that Options.
Step 4: Click Remove Headers & Footers
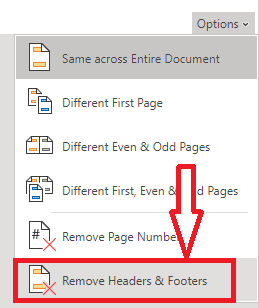
Now in the options window, you can see different options related to header and footer such as Same across entire document, different first page, different last page, etc. Click on Remove Headers & Footers which is placed at the last position.
Step 5: Click Remove all
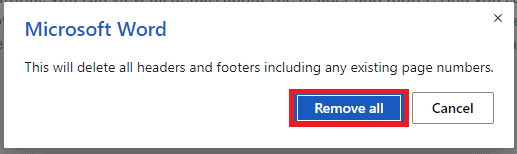
When you click on Remove Headers & Footers then it asks you a confirmation about your decision on removing the header and footer with ” This will delete all headers and footers including any existing page numbers” along with Remove all and cancel option. Click on Remove all option.
With these steps, the header and footer will be removed from your entire word document.
There are another situations where you need
Header and Footer in Older version MS Word:
Note: It is not recommended to use the older version of word. We recommend buying Microsoft 365 for the best features.
Video Tutorial:
We provided this article in the form of video tutorial for our reader’s convenience. If you are interested to read, you can skip the video and start reading.
4. How to Insert Header and footer in MS Word?
- Go to Insert and Choose Header to add header or Footer to insert footer. The Design tab will appear on the right side of the Ribbon. Select any one of the styles. You will see a header or footer with a dotted box.

- Then type the desired information into the header or footer.
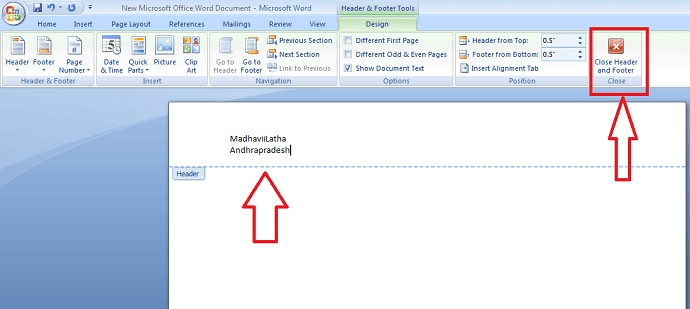
- When finished, click on Close Header and Footer or Press Esc key.
5. How to Edit Headers and Footers in MS Word
After closing the Header or Footer, it will be visible but locked. If you want to edit the header or footer simply double-click on the header or footer to unlock and it will allow you to edit.
Design Tab Options
When your document’s Header and Footer are unlocked, then the design tab will appear on the right side of the Ribbon, and various editing options are available.
6. How to remove Header and Footer?
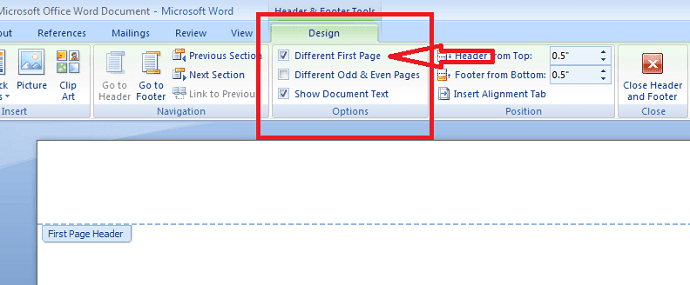
Remove Header or footer from the first Page
If some documents you do not want to show Header or Footer only on the first-page select “Different first-page”. For Example, if you are numbering pages, you want to start numbering from the second page and want to hide the first page then use the “Different first-page” option.
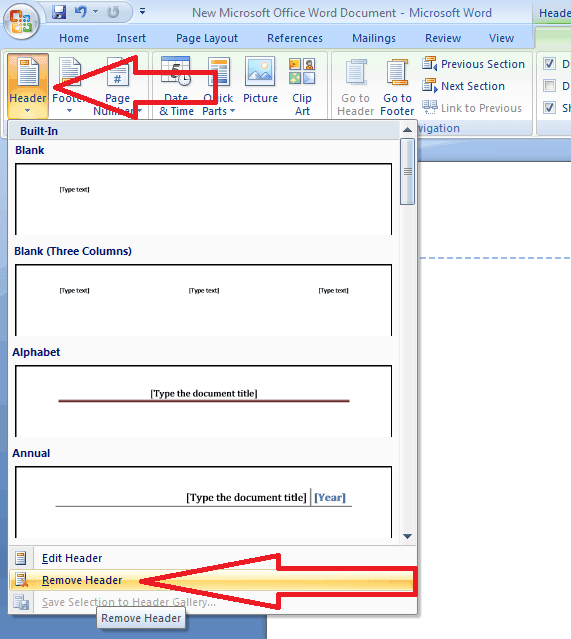
Remove the Header or Footer from the Entire document
If you want to delete all information contained in the header or footer, click on the Header command and click remove header from that menu appears. Also, you can remove the footer using the footer command.
- You May Also Like: Quick Guide to create table of contents in Word documents
- How to password protect word document
Conclusion:
We think now you might know complete details about Header and footer in Microsoft 365 and older versions. Once again we recommend to buy Microsoft 365. Because it gives you many features.
I hope you like my article about Header and Footer in MS word. If you like it, do me a favor by sharing it with your friends. Please follow whatvwant on Facebook, Twitter and YouTube.
How to insert, edit, remove header and footer in Microsoft 365 and MS Word- FAQ
Is it possible to add different footer for each page?
Yes, it is possible. You can make footer different for each page by setting different footer for odd & even pages. So they will have different footer for each page alternatively.
Is it possible to add header only for first page?
Yes, it is possible. If you want you can add header for first page only. And you can leave other pages without header.
Will header and footer print on the paper?
Yes, header and footer not only limited to digital copy but they also appear in the hard copy means paper once you inserted them in your word documents.
How to unlock header and footer in Word document?
If you want to unlock header and footer there are two ways. If it is in older version MS Word then give double click on header or footer then they will unlock in order to edit.
If it is in Microsoft 365 then you can see the header option at the top left side of the document and footer option at bottom left side. Click on that header or footer to unlock.
I want my header on the first page because it is a resume but I do not want the header on the other pages. I can’t seem to find instructions on how to do that. I have office 365.